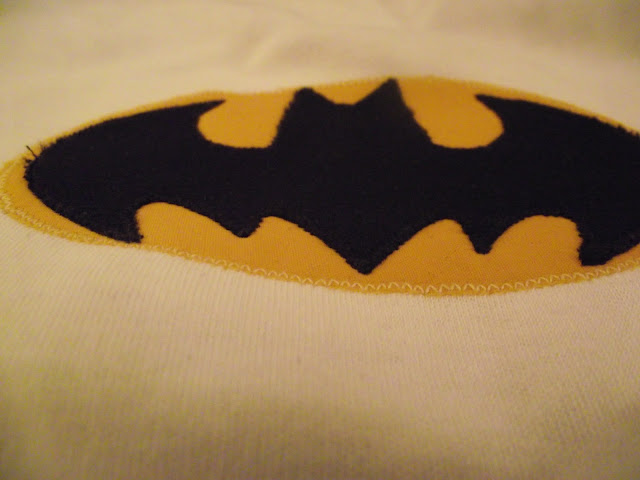
For my premiere tutorial I will be showing you how to make a little super hero outfit. Today I will show you how to applique and tomorrow we will add a cape. Techniques that will be used are; making and applying appliques, buttons and button holes.
To complete parts 1 and 2 of this tutorial you will need the following items:
- 1 onesie
- fusible webbing
- light interfacing
- material for cape
- material for superhero symbol
- 3 to 5 buttons or snaps
First decide on a superhero symbol. There are many tried and true superheros out there or you can create your own. For today's example we will be using batman.
When we are finished the applique process the shirt will look like this:
Step 1: Trace superhero symbol onto card stock and cutout.
Step 2: Trace logo onto paper side of fusible webbing. Remember if the symbol is not symmetrical then make sure you are tracing the reverse of the image onto the paper. Iron fusible webbing onto fabric. Cut out symbol.
Turn shirt inside-out and reinforce the area where the symbol will be sewn by applying interfacing.
Turn shirt rightside-out and iron symbol to interfaced area.
After symbol has cooled zig-zag stitch around the edges.
And there we have a superhero symbol on a onesie.
Come back tomorrow and we will add the detachable cape!


Hey I would like to see some new posts!
ReplyDelete